How to draw an anime girl face, step by step
- Easy
- 15 min
- 9 steps
- 4 materials
How to draw an anime girl face: this free lesson takes 9 easy steps, with a picture for every step, and it suits beginners. You start with a head oval and a centre line, mark where the eyes, nose and mouth go, and draw the bell shape of the hair. Then you add the cheeks, jaw and ears on each side, the fringe, the large eyes with their highlights, and finish with a tiny nose and a smile. The guide lines keep both sides of the face even. Draw it on paper, or trace each step in the Pencilbloom app.
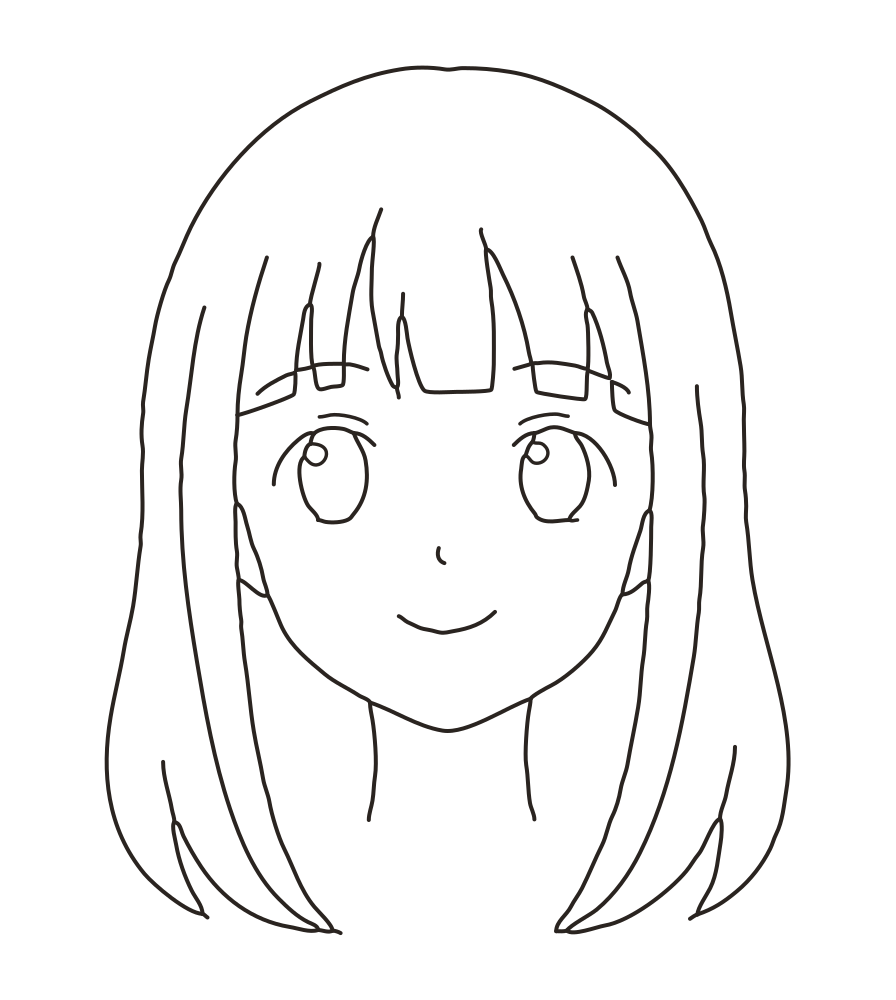
Trace this lesson on your own paper
What you’ll need
- HB pencil
- Eraser
- Drawing paper
- Black fine-liner (optional)
Draw it step by step
Step 1 of 9
new lines in red
- done
- this step
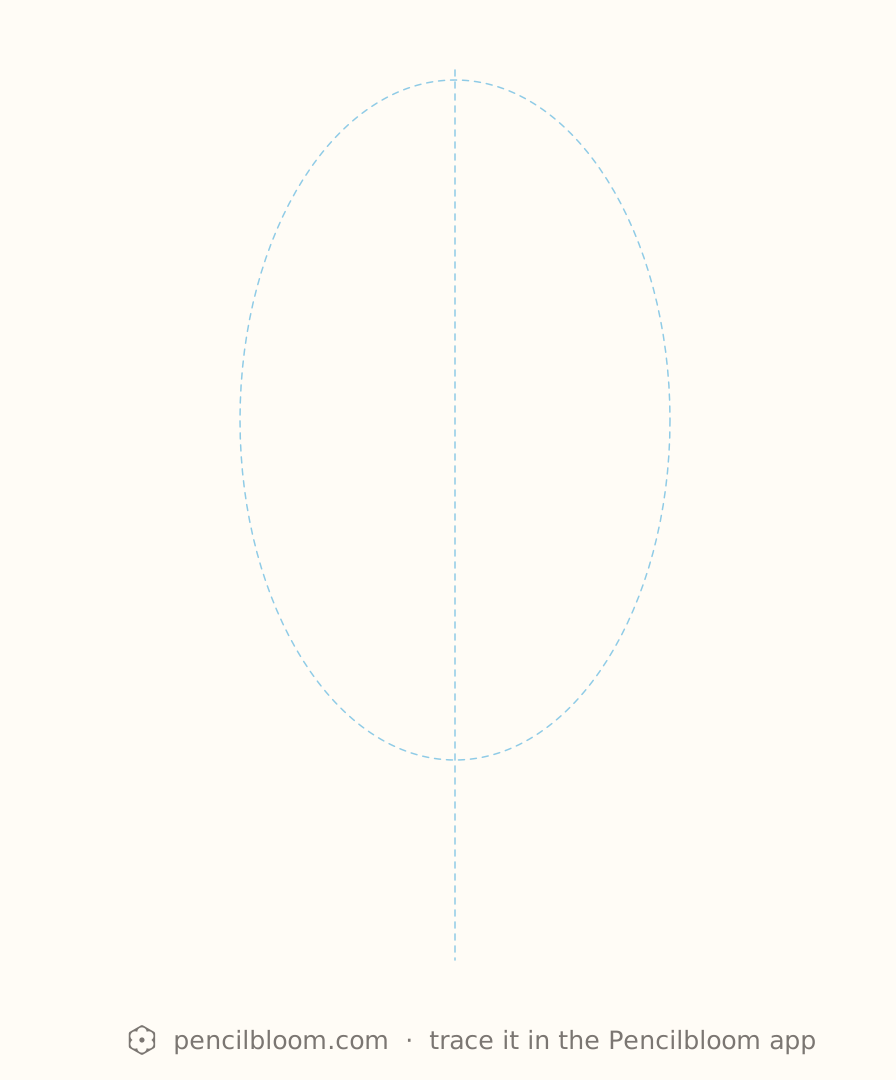
Step 1: Place the head oval
Lightly draw a tall oval for the head and a vertical centre line down the middle of it.
Tip: Press very lightly; these guides will be erased later.
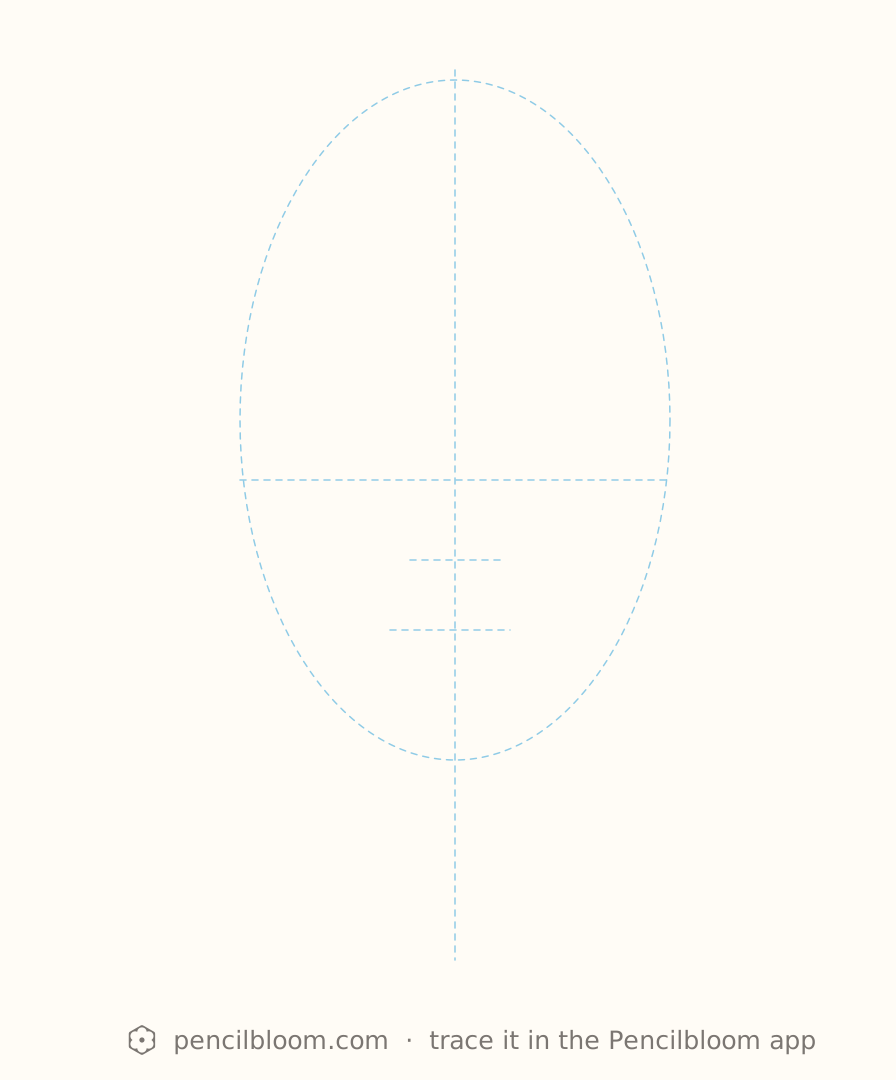
Step 2: Mark the face lines
Draw an eye line just below the oval's middle, then short lines for the nose base and the mouth.
Tip: Check that the lines are level and evenly spaced.
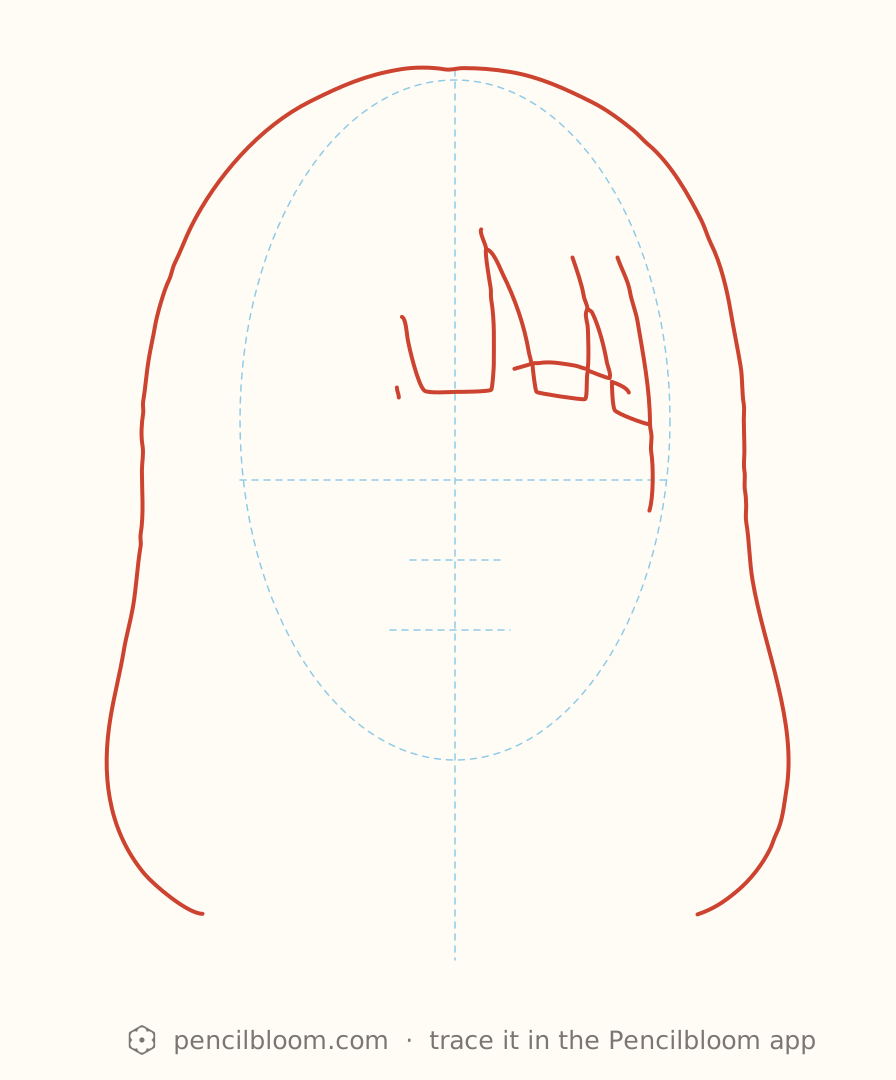
Step 3: Draw the outer hair shape
Trace the big bell-shaped outline of the hair from the crown down both sides, plus the right-side fringe edge.
Tip: Use long, smooth strokes and let your arm move, not just your wrist.
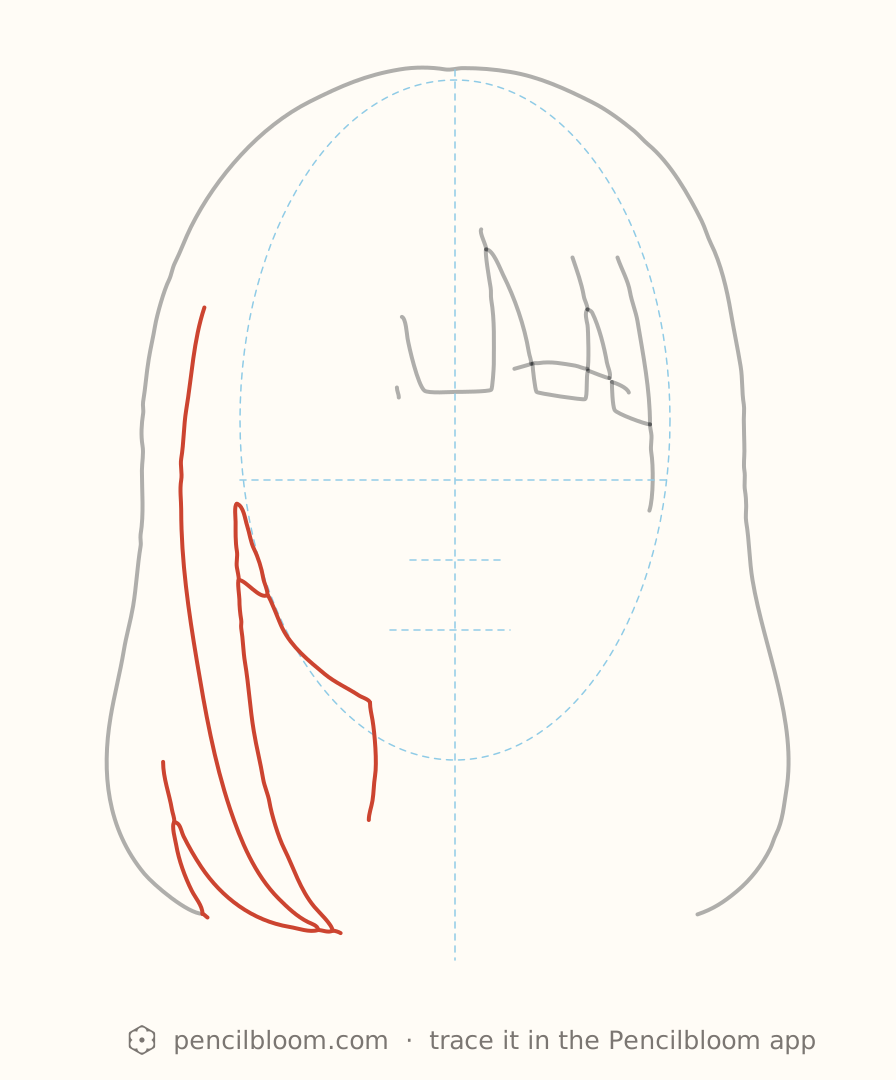
Step 4: Add the left face and hair
Draw the left ear, cheek, jaw, neck line and the inner hair lock falling beside the face.
Tip: Follow the jaw as it curves toward the chin on the centre line.
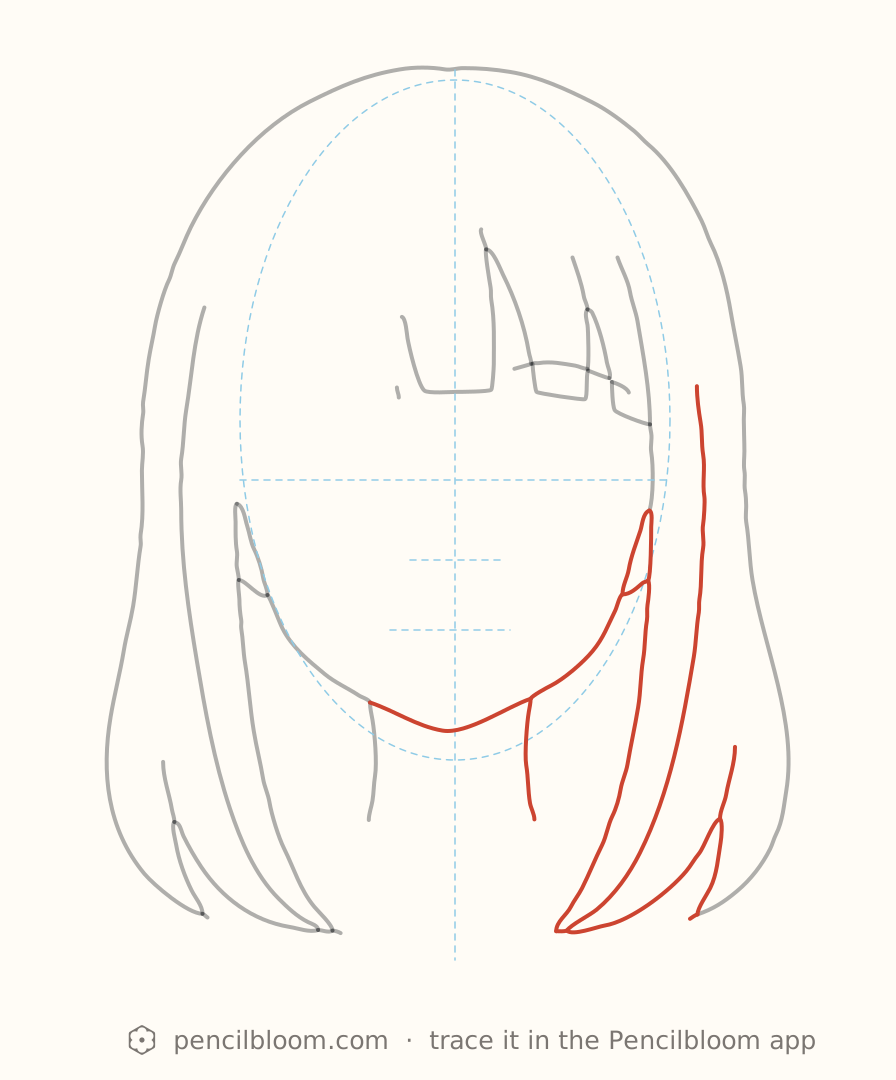
Step 5: Add the right face and hair
Mirror that on the right: cheek, jaw meeting the chin, ear, neck line and the inner hair lock.
Tip: Compare both sides to keep the face balanced.
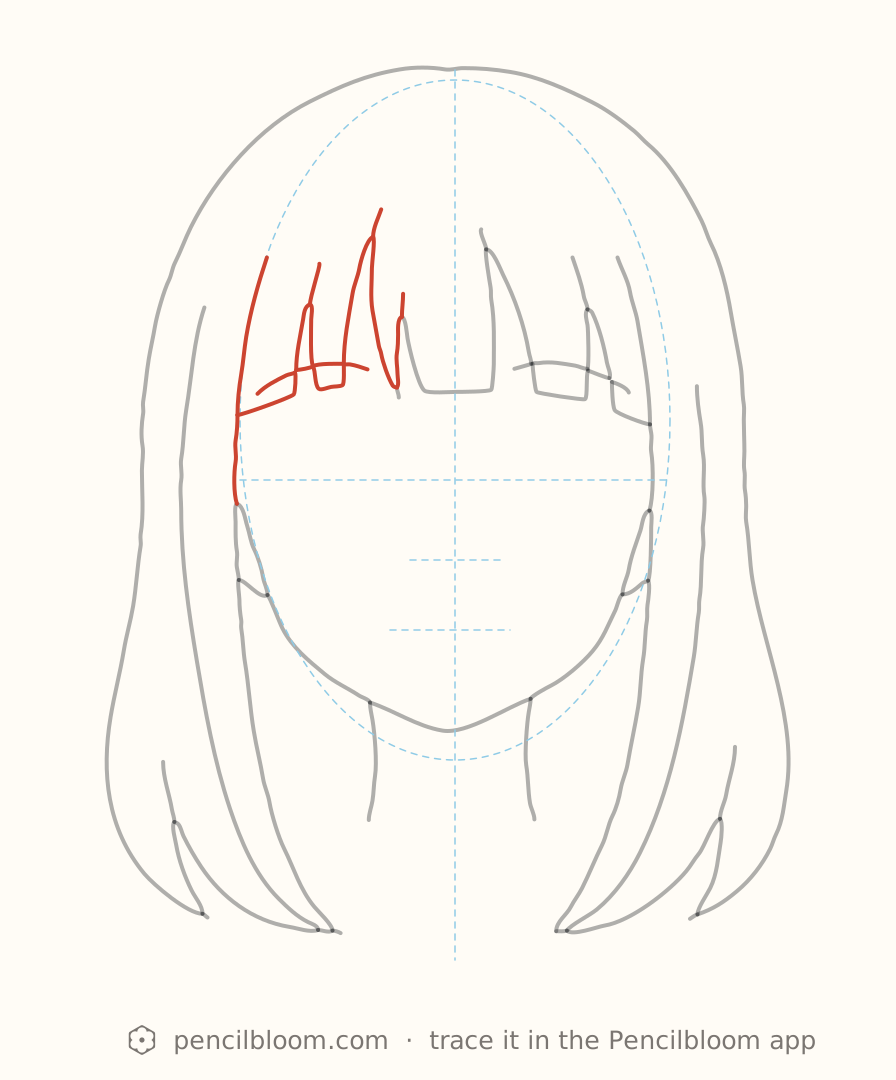
Step 6: Draw the left fringe
Add the left bangs with their blocky tips, ending above the eye line.
Tip: Keep the strands flowing in the same direction.
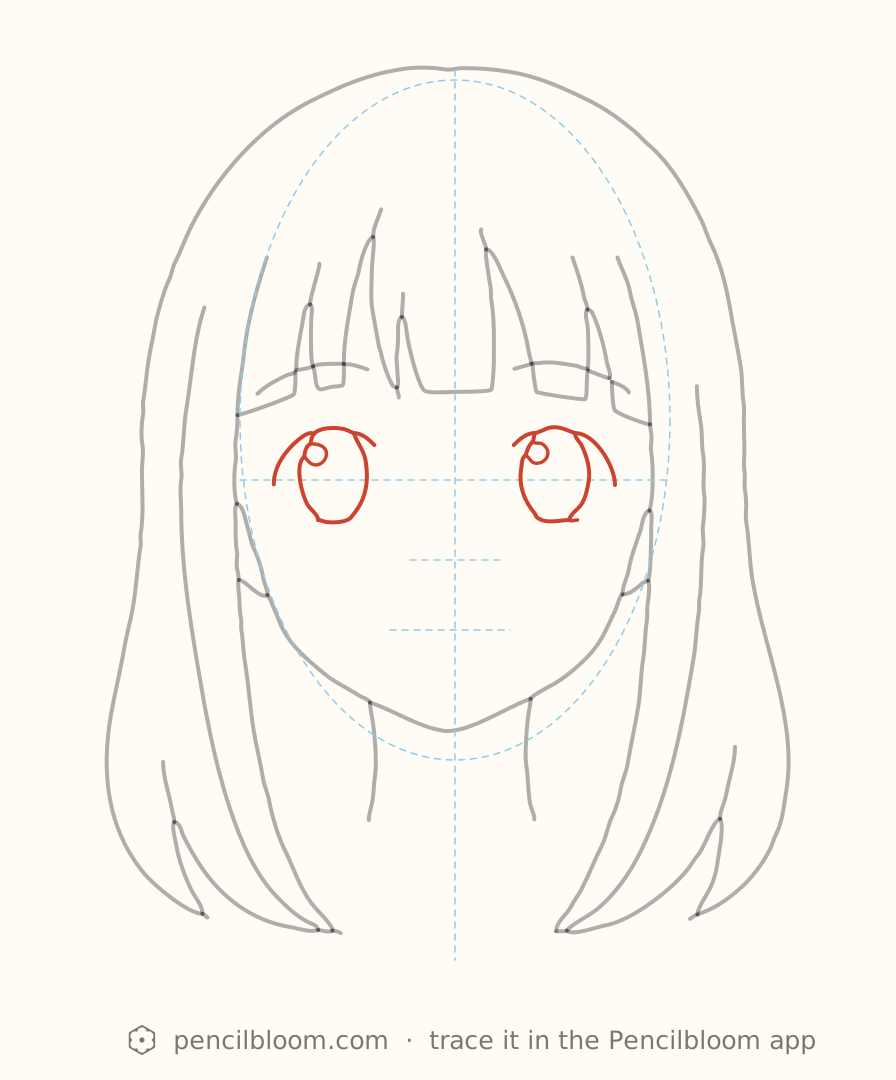
Step 7: Place the eyes
Draw both large oval eyes on the eye line, with small highlight circles and the outer eyelid curves.
Tip: Make the two eyes equal in size and the same distance from the centre line.
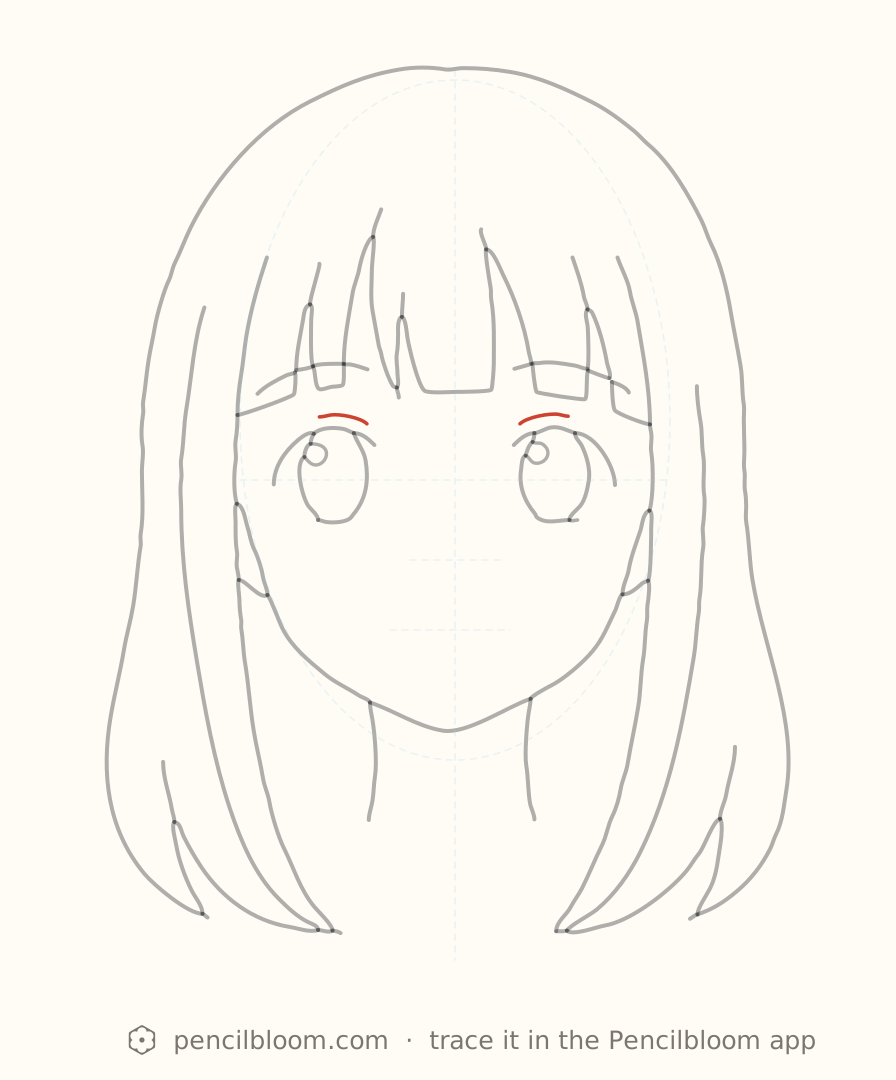
Step 8: Add the eyelid creases
Draw the small curved creases above each eye.
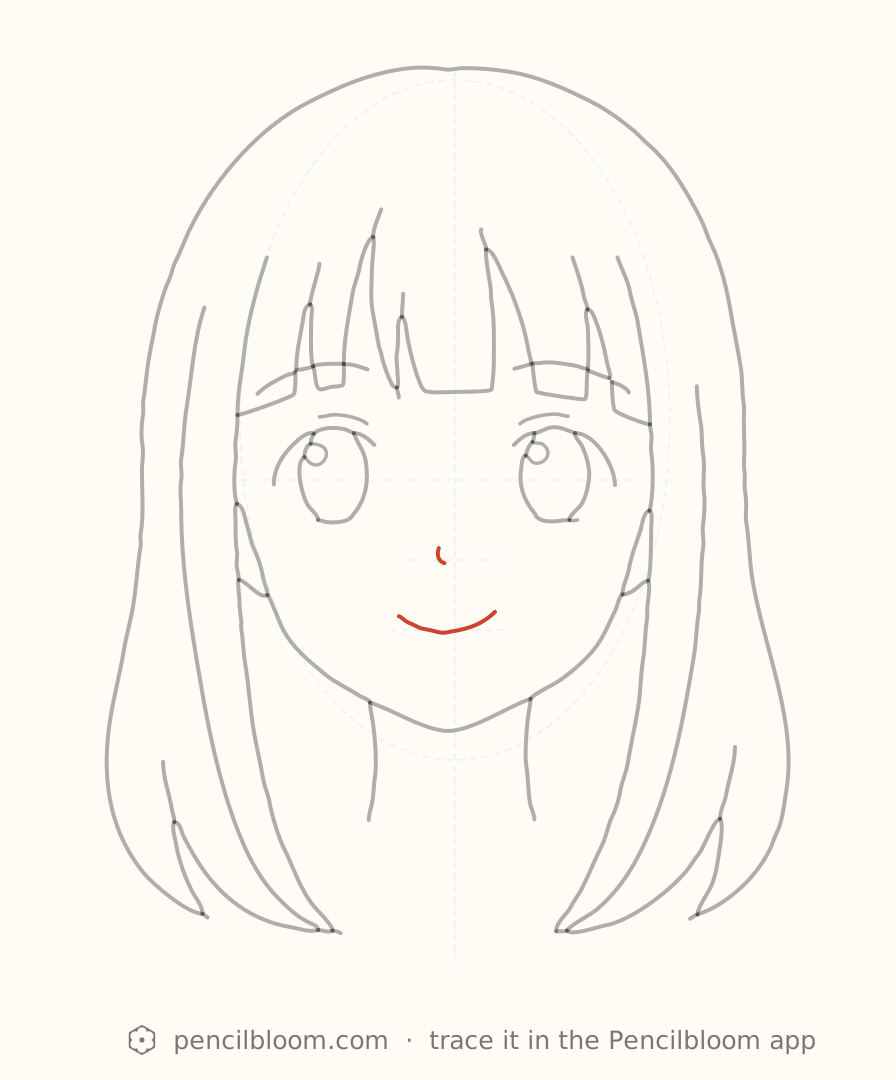
Step 9: Finish nose and smile
Add a tiny nose mark on the nose line and a gentle curved smile centred on the mouth line.
Tip: A light touch on the nose keeps the face soft.
swipe the drawing to change step
Done! Now on paper?
You’ve seen every step. Trace it on real paper with Pencilbloom; your phone shows each step right on the page.
Trace this lesson on your own paper
Pencilbloom shows each step through your camera, right on the page.
FAQ
What paper and pencil should I use for tracing?
With the camera, any plain paper works, from printer paper to a sketchbook. For Trace on screen, use thin paper so the picture shines through. An HB pencil is good for guide lines and a softer 2B for darker final lines. Tape the paper down so it doesn't move.
How do the step-by-step drawing lessons work?
Each lesson builds a drawing in small steps, big shapes first and details last, with a picture for every step. You can draw along on paper while looking at the steps, or trace each step in the app. Many lessons are free, and you'll find them all on our Learn page.