How to draw a hand, step by step
- Medium
- 12 min
- 11 steps
- 4 materials
How to draw a hand: this free lesson breaks it into 11 easy steps, with a picture for every step, so even beginners can get the proportions right. You box in the hand and the palm, mark the direction of each finger, and angle the thumb and wrist. Then you outline the fingers and thumb, and finish with the palm lines, the wrist crease and the small creases at every finger joint. Hands are known as hard to draw; the guide shapes make them simple. Draw it on paper, or trace each step in the Pencilbloom app.
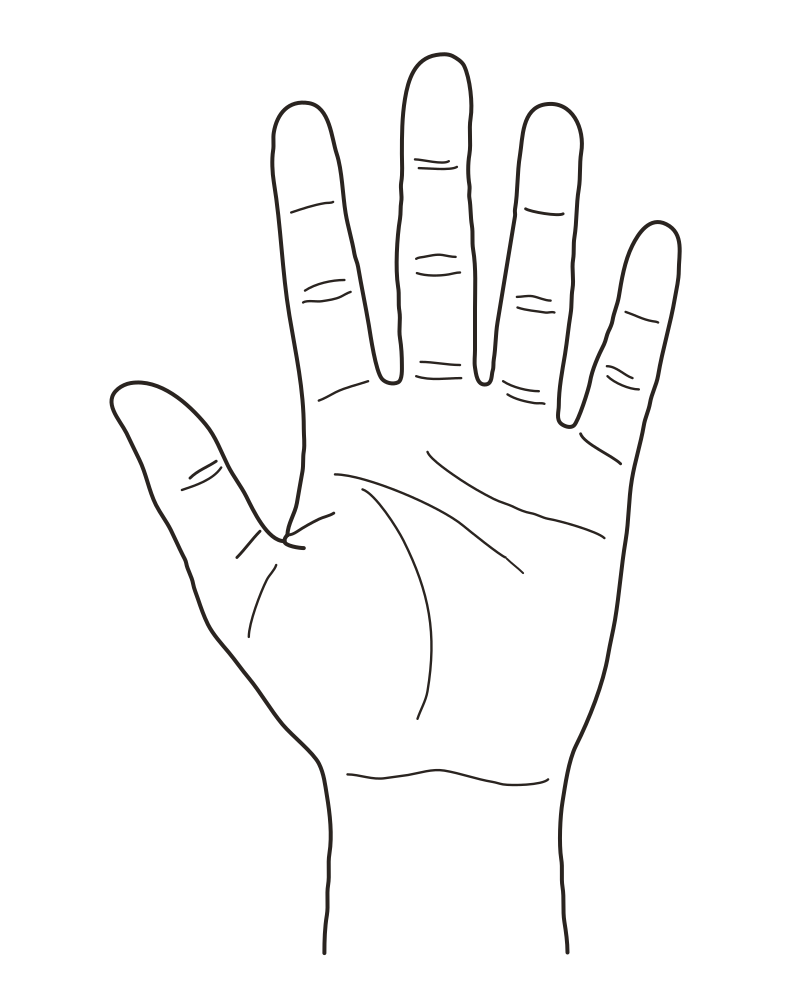
Trace this lesson on your own paper
What you’ll need
- HB pencil
- 2B pencil
- Eraser
- Drawing paper
Draw it step by step
Step 1 of 11
new lines in red
- done
- this step
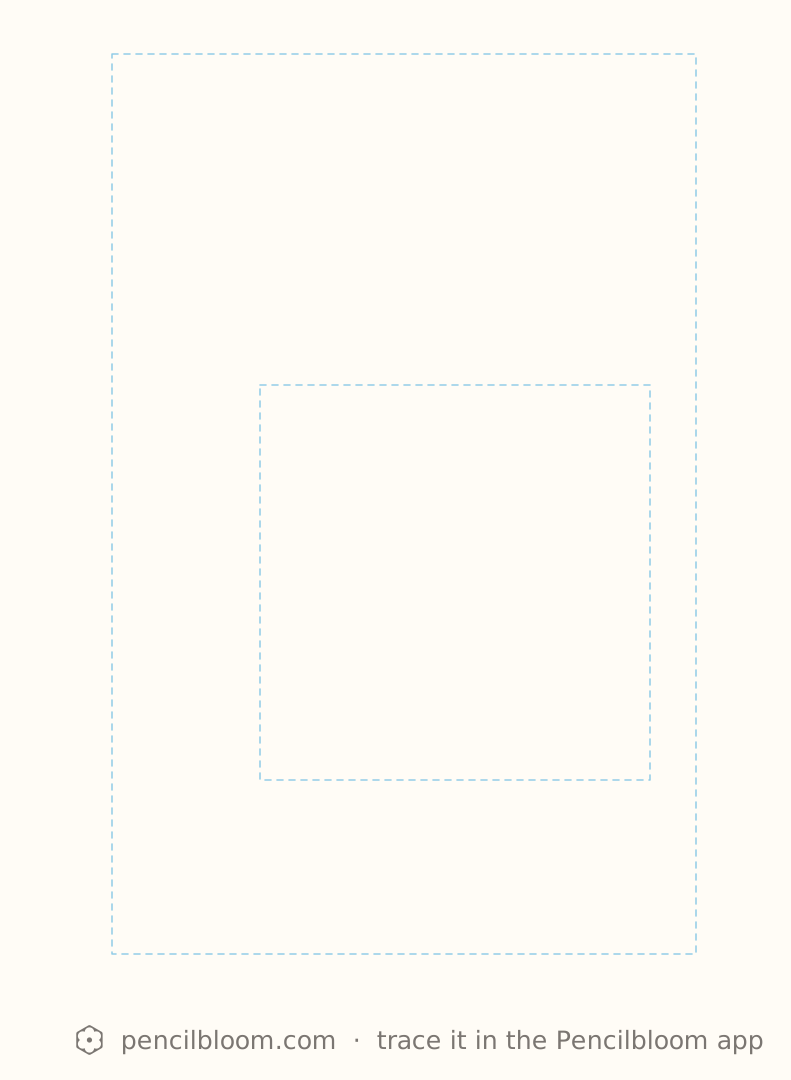
Step 1: Box in the whole hand
Lightly draw a tall rectangle around the hand, then a square for the palm in its lower middle, with the wrist below.
Tip: Press very lightly. These guides will be erased later.
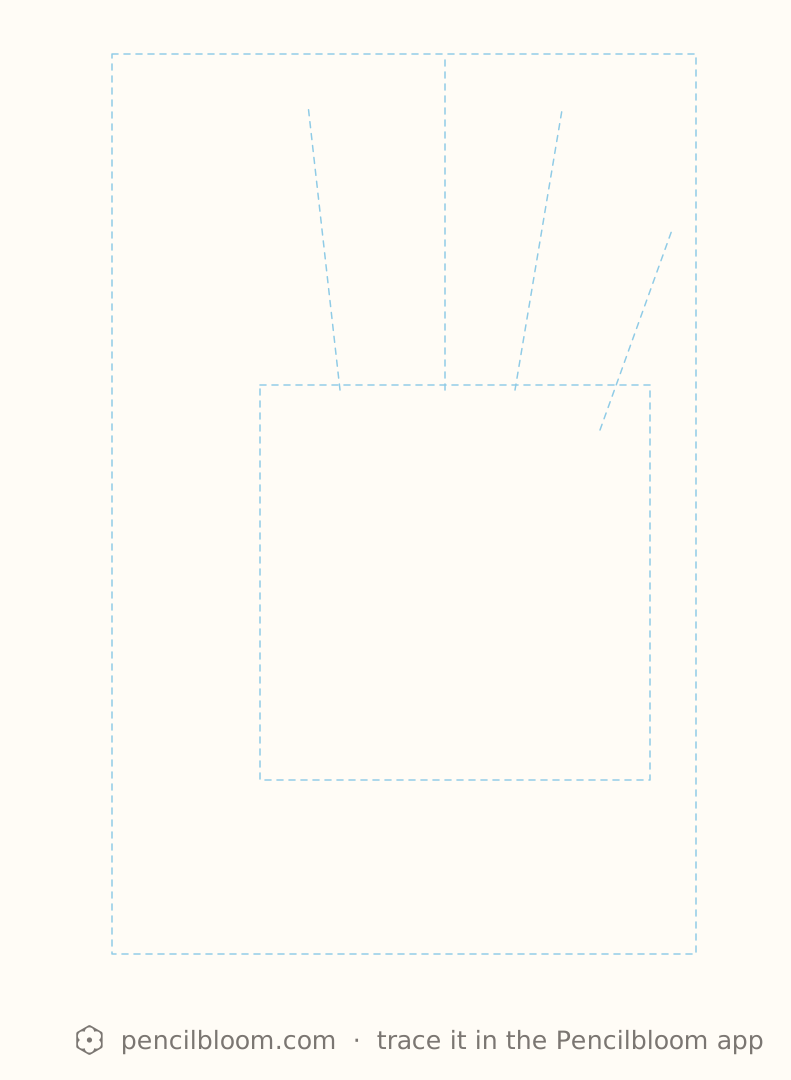
Step 2: Mark the finger directions
From the top of the palm, draw four slightly fanned lines for the fingers; the middle one is longest, the pinky shortest.
Tip: Compare lengths: the middle finger reaches almost to the top of the box.
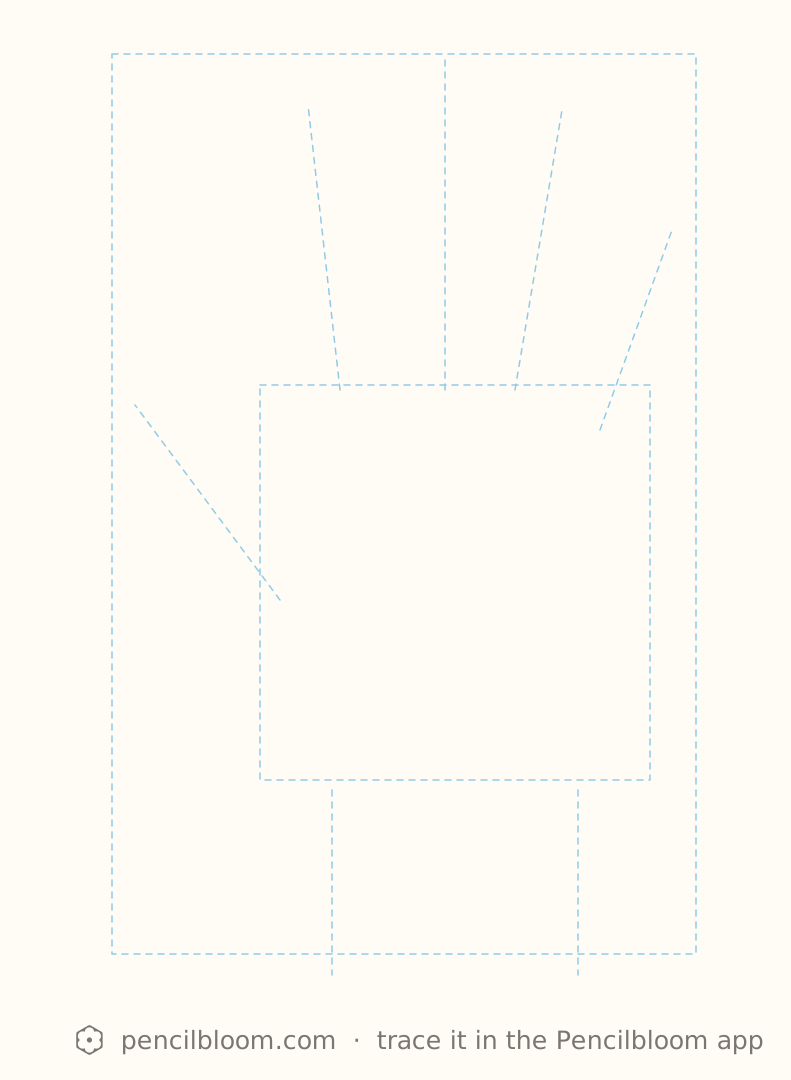
Step 3: Angle the thumb and wrist
Draw a slanted line from the lower left of the palm up to the thumb tip, and two vertical lines for the wrist below.
Step 4: Outline the four fingers
Trace the long edge: up and around each finger tip, dipping between the fingers, then down the pinky side of the palm to the wrist.
Tip: Use long, smooth strokes and let the rounded tips flow from the sides.
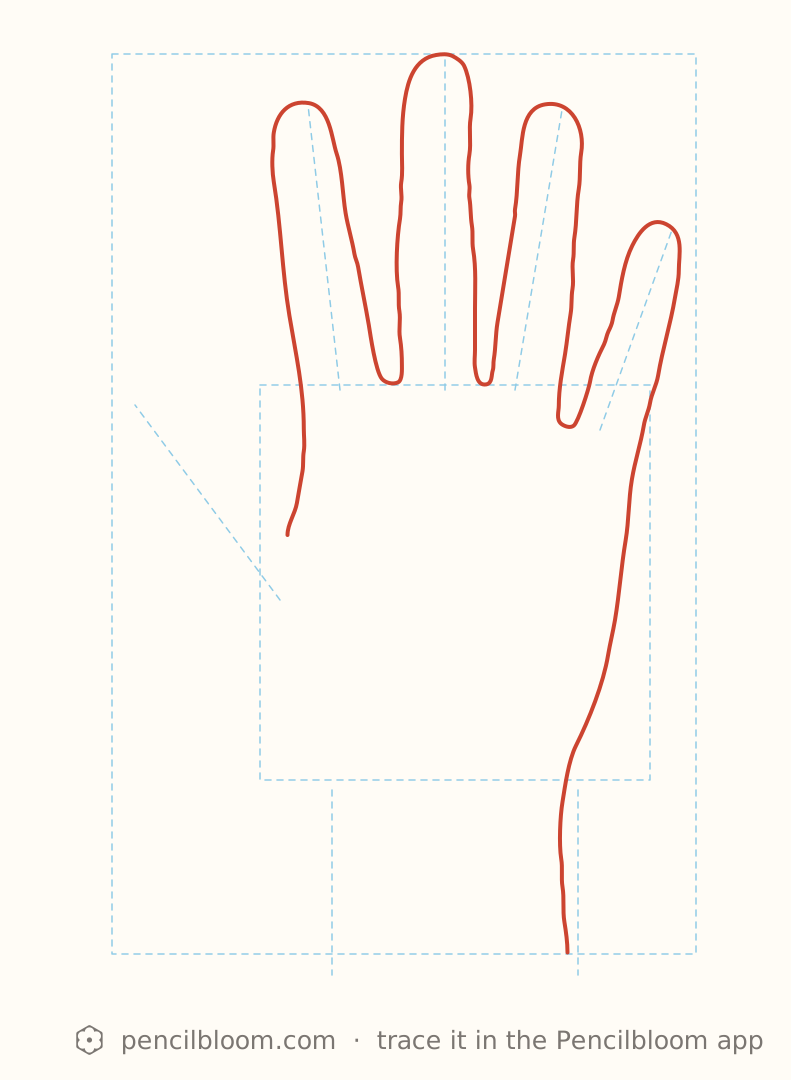
Step 5: Draw the thumb and left side
Start at the wrist's left edge, rise along the palm, swing out to the thumb tip and come back toward the thumb web.
Tip: Turn the paper to draw the curve of the thumb comfortably.
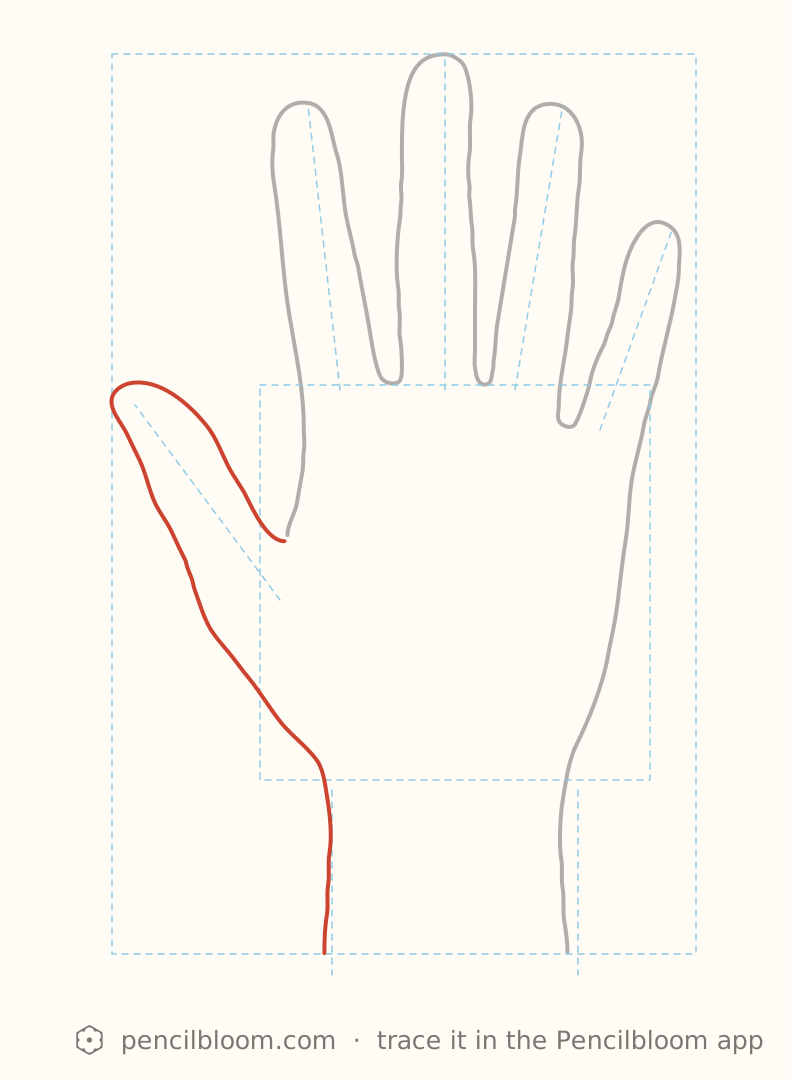
Step 6: Form the base of the thumb
Add the short lines where the thumb meets the palm, near the web beside the index finger, and the small crease below.
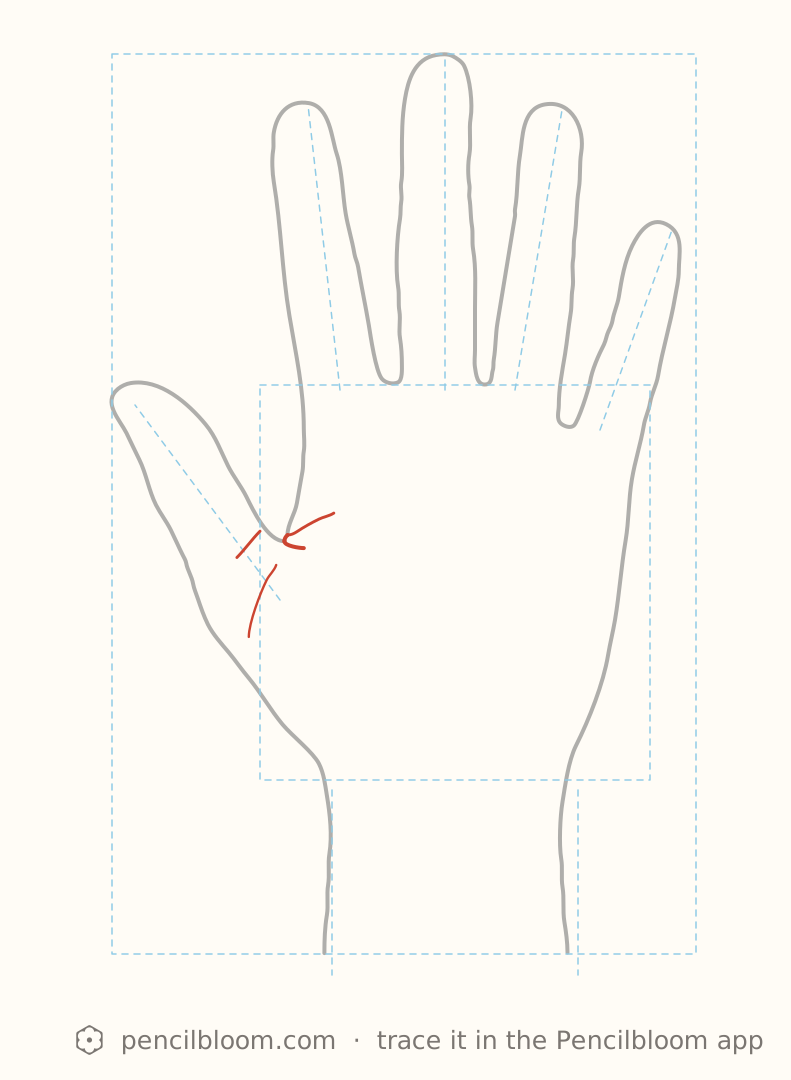
Step 7: Draw the main palm lines
Draw the long curved lines across the palm: two sweeping toward the pinky side and one arcing down toward the wrist.
Tip: Keep them flowing and slightly lighter than the outline.
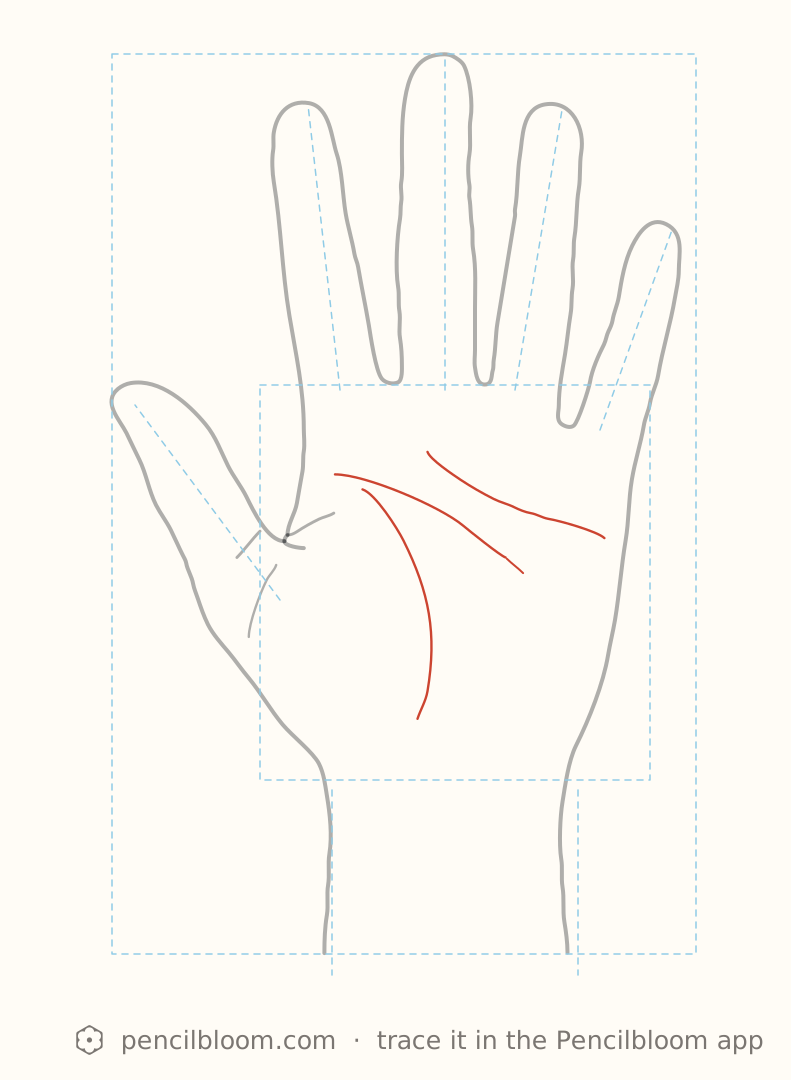
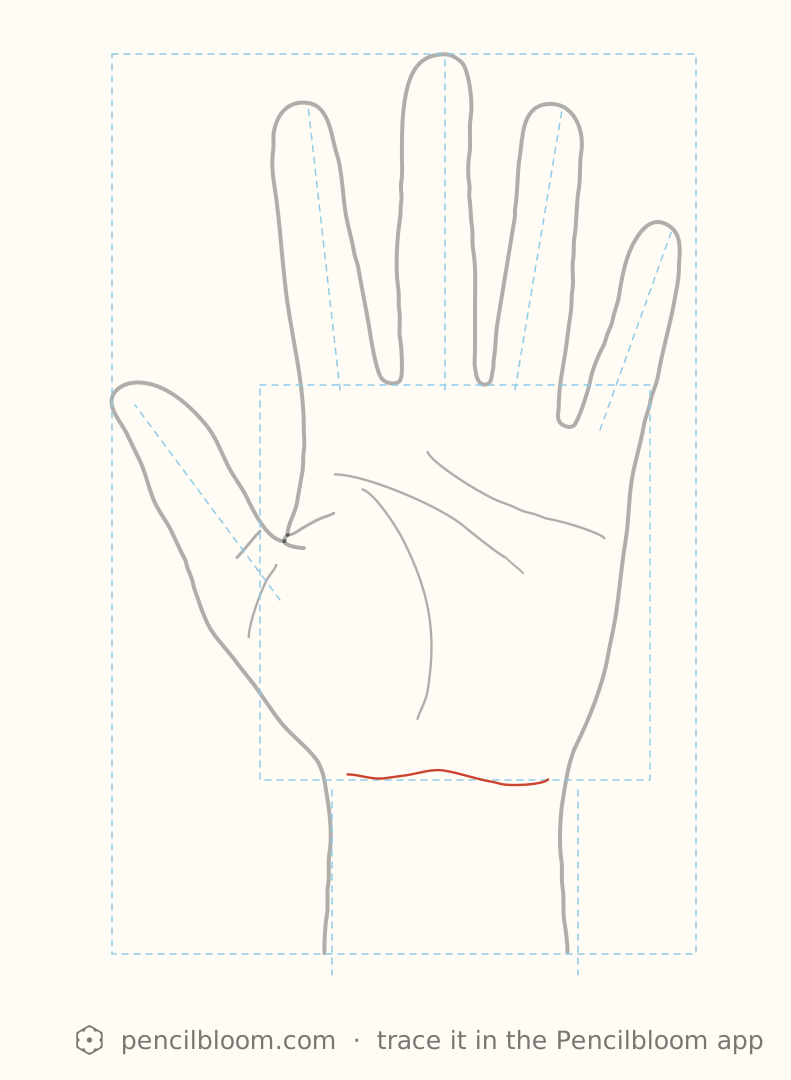
Step 8: Add the wrist crease
Draw the gently wavy line across the wrist, where the palm ends, between the two wrist edges.
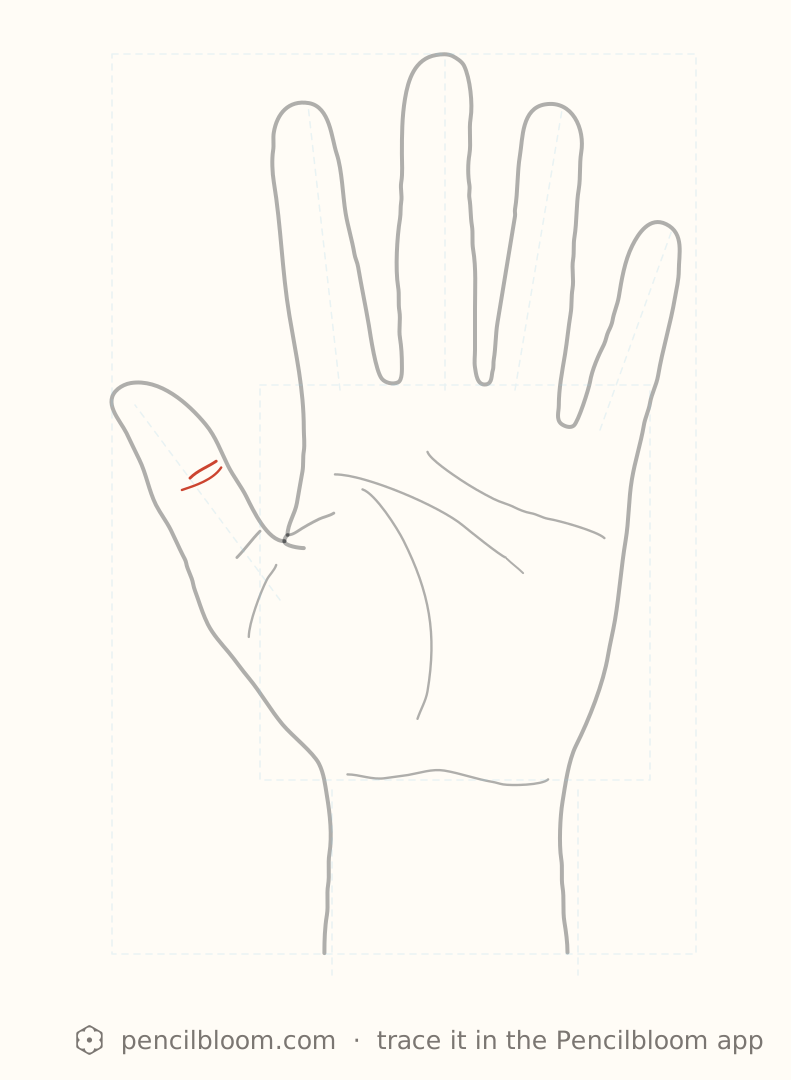
Step 9: Thumb knuckle creases
Add the small double crease on the thumb, at its middle joint.
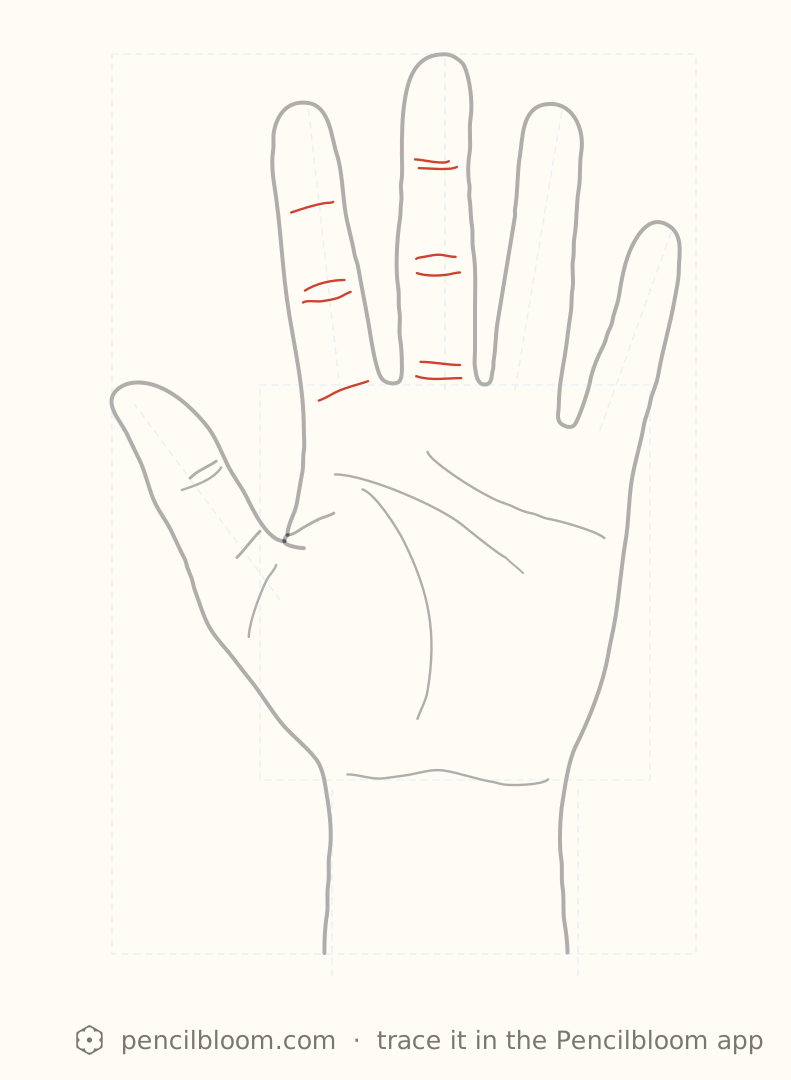
Step 10: Index and middle finger creases
Mark the finger joint creases and the short lines at the finger bases, matching their heights across both fingers.
Tip: Short pairs of lines suggest the joints; keep them light.
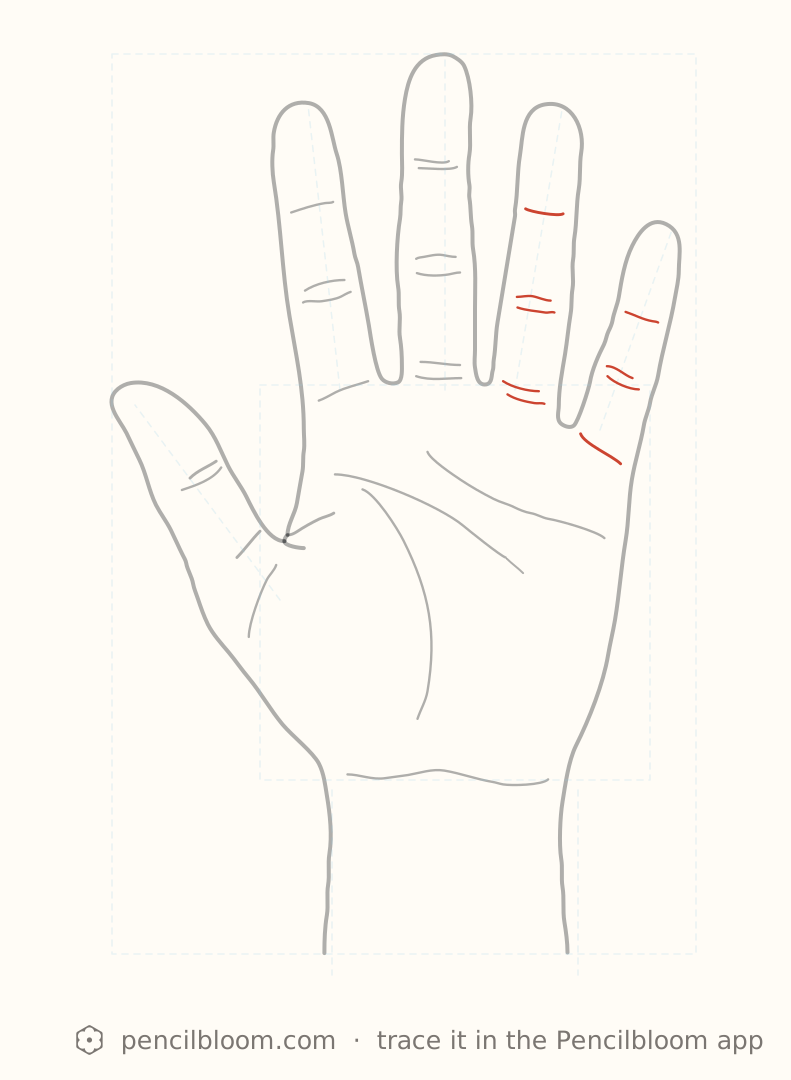
Step 11: Ring and pinky finger creases
Finish with the joint creases on the ring finger and pinky, plus the small lines at their bases.
swipe the drawing to change step
Done! Now on paper?
You’ve seen every step. Trace it on real paper with Pencilbloom; your phone shows each step right on the page.
Trace this lesson on your own paper
Pencilbloom shows each step through your camera, right on the page.
FAQ
What paper and pencil should I use for tracing?
With the camera, any plain paper works, from printer paper to a sketchbook. For Trace on screen, use thin paper so the picture shines through. An HB pencil is good for guide lines and a softer 2B for darker final lines. Tape the paper down so it doesn't move.
How do the step-by-step drawing lessons work?
Each lesson builds a drawing in small steps, big shapes first and details last, with a picture for every step. You can draw along on paper while looking at the steps, or trace each step in the app. Many lessons are free, and you'll find them all on our Learn page.