How to draw a fish, step by step
- Easy
- 10 min
- 9 steps
- 4 materials
How to draw a fish: this free lesson draws a round, smiling fish in 9 easy steps, with a picture for every step, and it suits beginners and kids. You place a circle for the body, mark the tail, the seabed and a trail for bubbles, then draw the smiling front, the tail fin and a big round eye. Last come the seabed with seaweed, a small starfish and the bubbles rising from the fish. Draw it on paper, or trace each step in the Pencilbloom app.
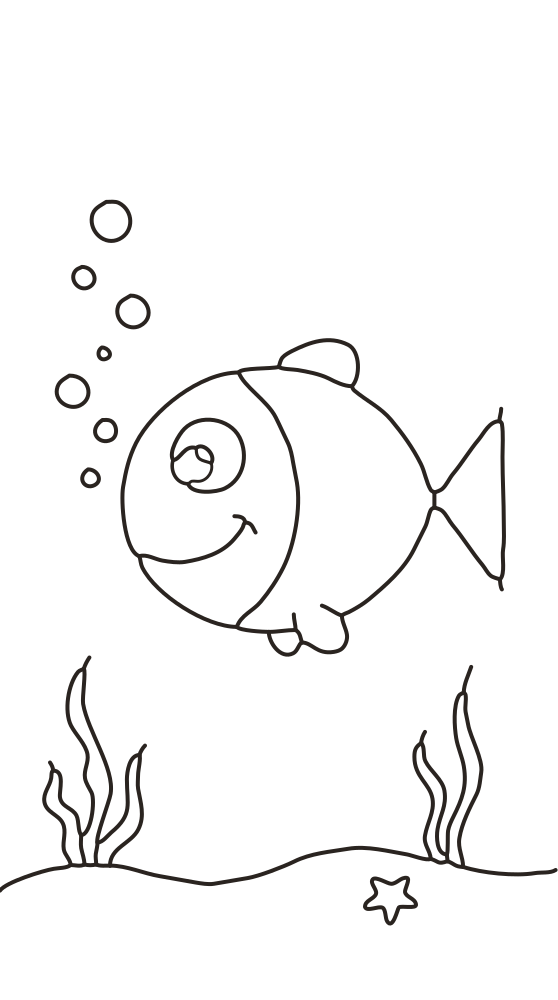
Trace this lesson on your own paper
What you’ll need
- HB pencil
- Eraser
- Drawing paper
- Colored pencils (optional)
Draw it step by step
Step 1 of 9
new lines in red
- done
- this step
Step 1: Place the round body
Lightly draw a large circle for the fish's body in the middle of the page, with a short horizontal line through its centre.
Tip: Press very lightly; these guides get erased later.

Step 2: Mark tail, ground and bubbles
Add a small box on the right for the tail, a wavy ground line near the bottom, and a slanted line up-left for the bubble trail.
Tip: Check that the tail box sits level with the body's centre line.

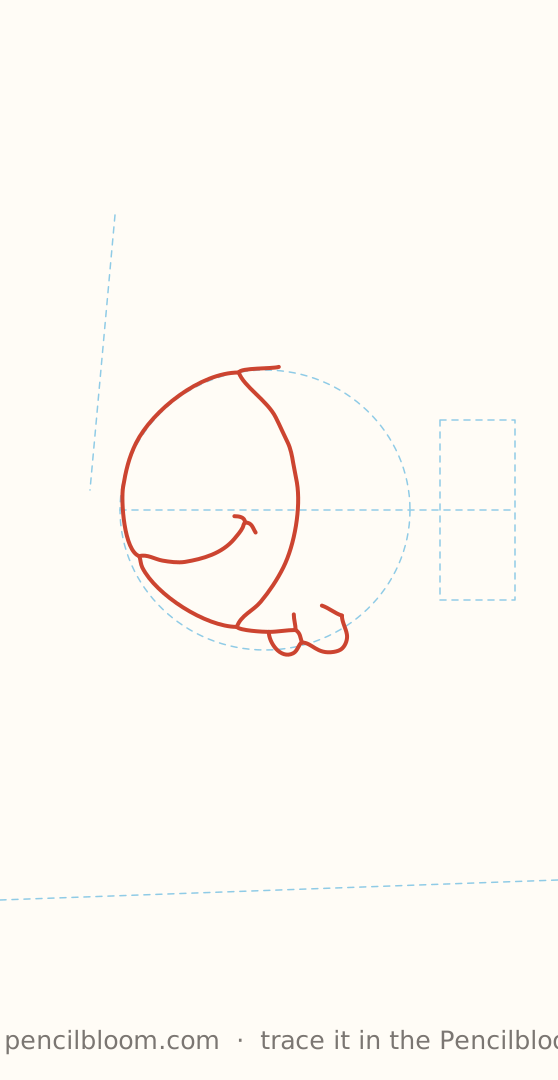
Step 3: Draw the front of the body
Trace the left side of the round body: the curved band with the smiling mouth, the curved inner stripe, and the small belly fins.
Tip: Use one smooth stroke for the big curve; turn the paper if it helps.
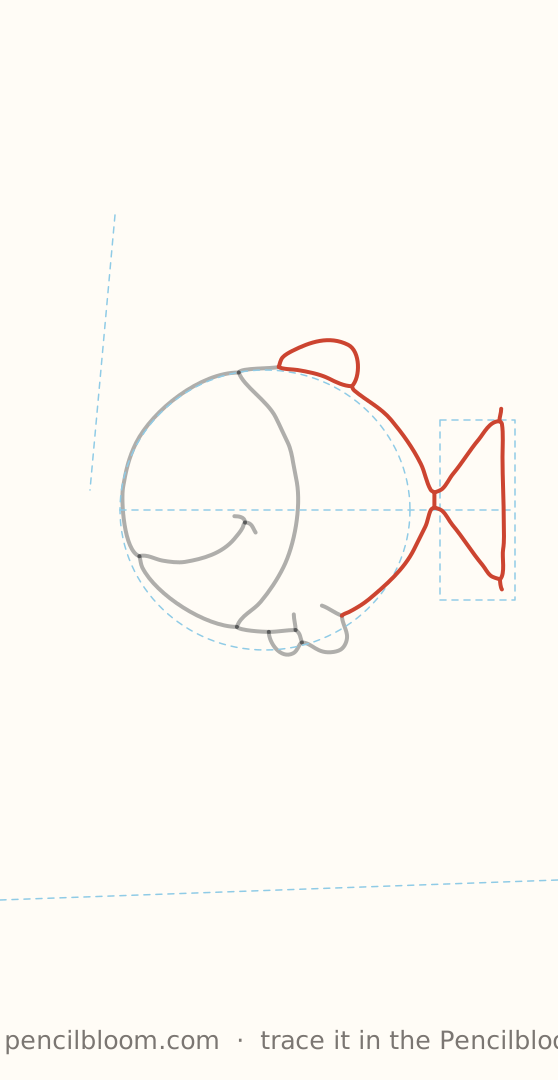
Step 4: Complete body, tail and top fin
Continue the body outline on the right, then add the pointed tail fin and the small fin on top of the back.
Tip: Let the outline meet the stripe cleanly at the top and bottom.
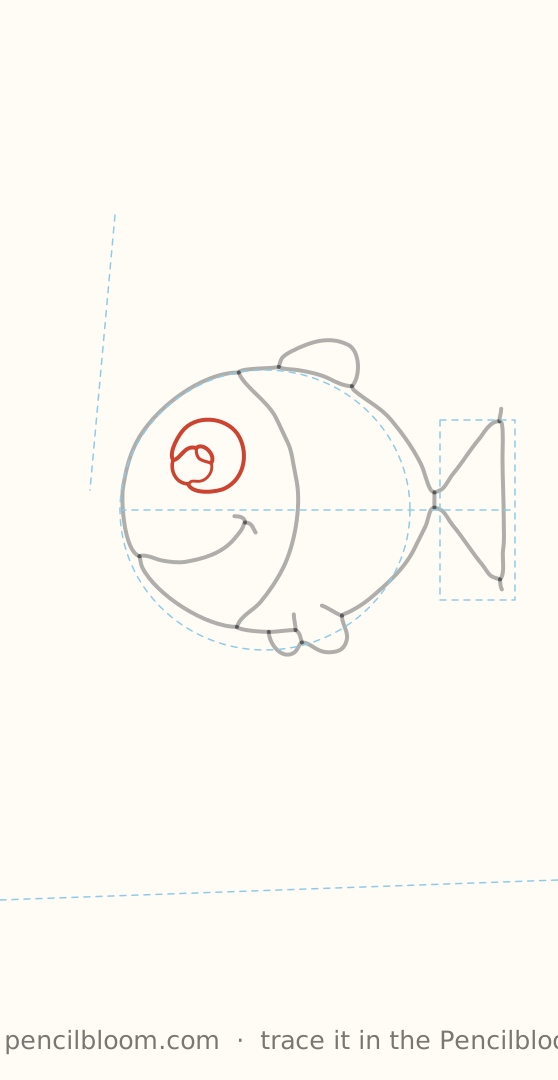
Step 5: Draw the big round eye
Inside the front band, above the smile, draw the swirling eye with its small highlight.
Tip: Start from the centre and spiral outward in one gentle line.
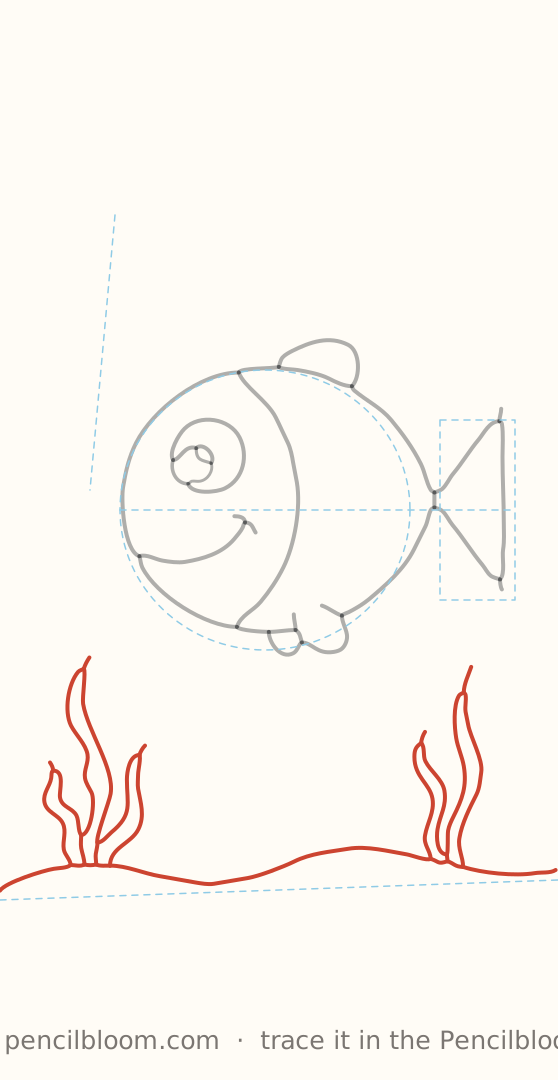
Step 6: Draw the seabed and seaweed
Trace the wavy ground along the bottom, then the tall wavy seaweed on the left and the taller strands on the right.
Tip: Keep the strokes long and flowing, with relaxed wrists.
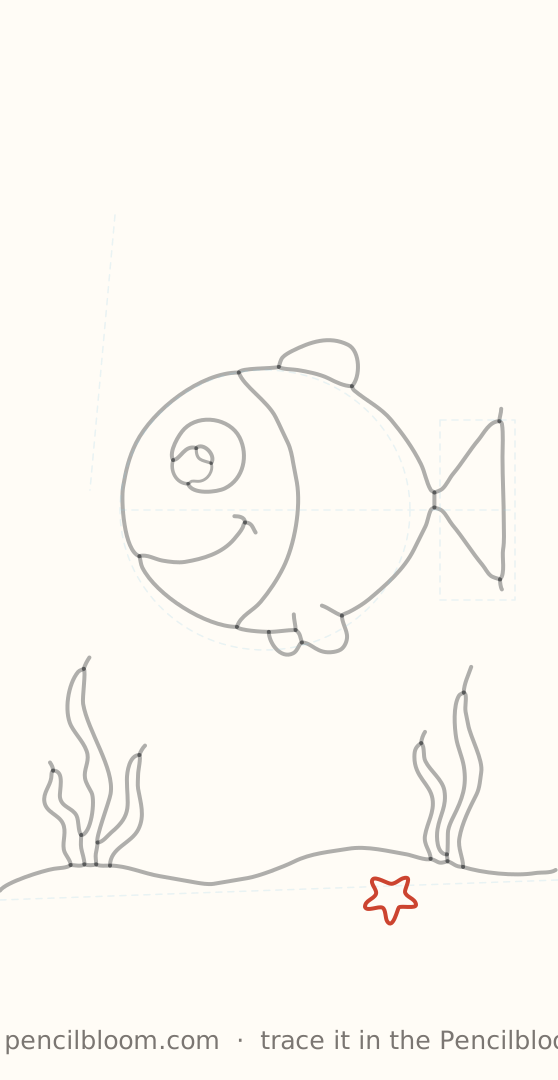
Step 7: Add the starfish
Draw the small five-pointed starfish resting on the ground to the right, under the fish.
Tip: Mark five points first, then connect them.
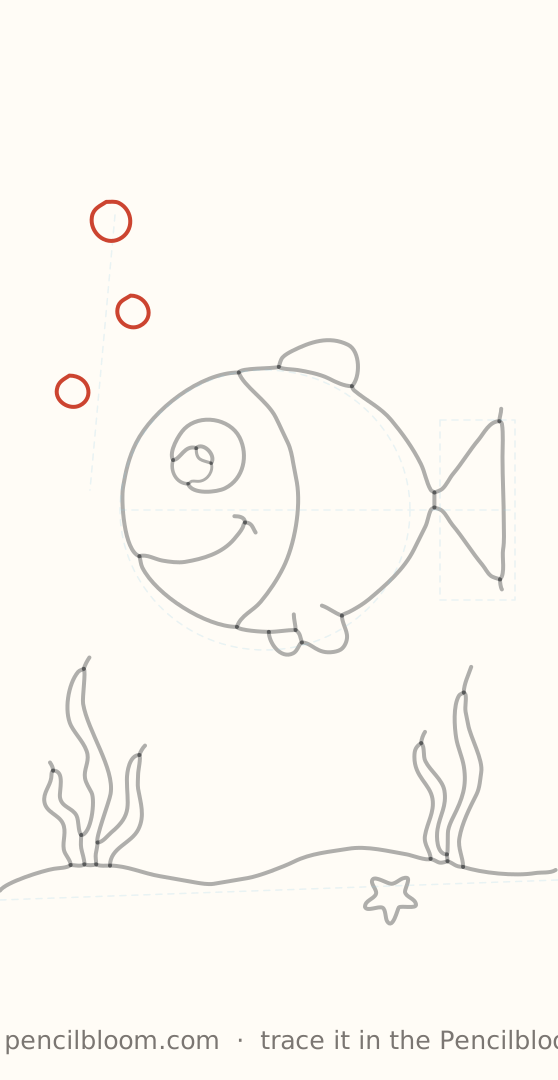
Step 8: Draw the larger bubbles
Along your bubble trail, draw the biggest circles: the top one, the one at right of it, and the one near the fish's face.
Tip: Circles don't need to be perfect; quick round strokes look fresh.
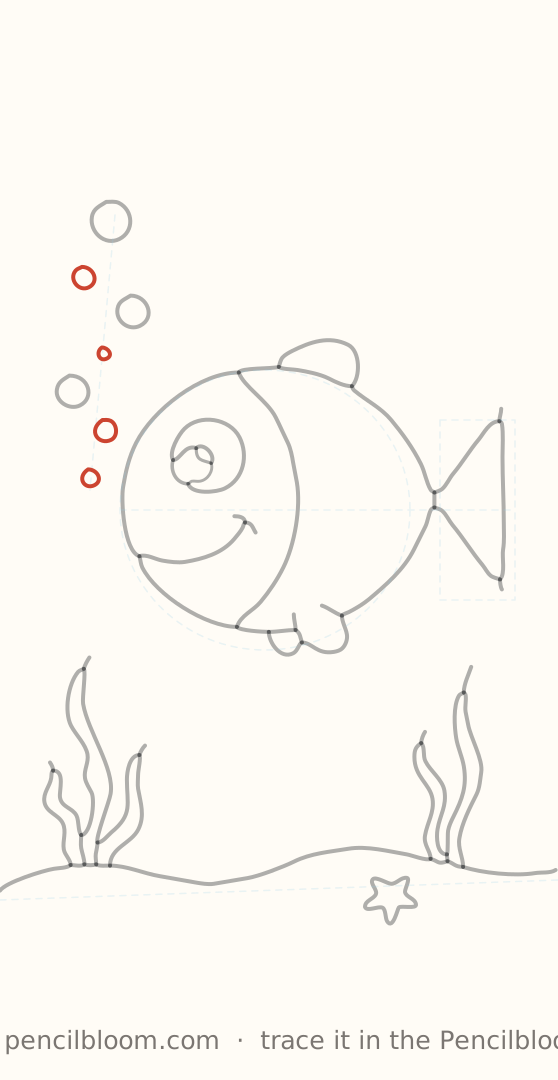
Step 9: Finish with small bubbles
Fill in the tiny bubbles between the larger ones, getting smaller and closer to the fish's head.
Tip: Vary the sizes so the trail feels natural.
swipe the drawing to change step
Done! Now on paper?
You’ve seen every step. Trace it on real paper with Pencilbloom; your phone shows each step right on the page.
Trace this lesson on your own paper
Pencilbloom shows each step through your camera, right on the page.
FAQ
What paper and pencil should I use for tracing?
With the camera, any plain paper works, from printer paper to a sketchbook. For Trace on screen, use thin paper so the picture shines through. An HB pencil is good for guide lines and a softer 2B for darker final lines. Tape the paper down so it doesn't move.
How do the step-by-step drawing lessons work?
Each lesson builds a drawing in small steps, big shapes first and details last, with a picture for every step. You can draw along on paper while looking at the steps, or trace each step in the app. Many lessons are free, and you'll find them all on our Learn page.