How to draw a planet, step by step
- Easy
- 8 min
- 6 steps
- 4 materials
How to draw a planet: this free lesson takes 6 easy steps, with a picture for every step, and it suits beginners and kids. You draw a large circle for the planet, tilt a long ellipse across it for the ring, and trace the ring so it passes in front of the planet. Then you add two small moons and a couple of tiny stars around it. A ringed planet is a quick way to practise circles and ellipses. Draw it on paper, or trace each step in the Pencilbloom app.
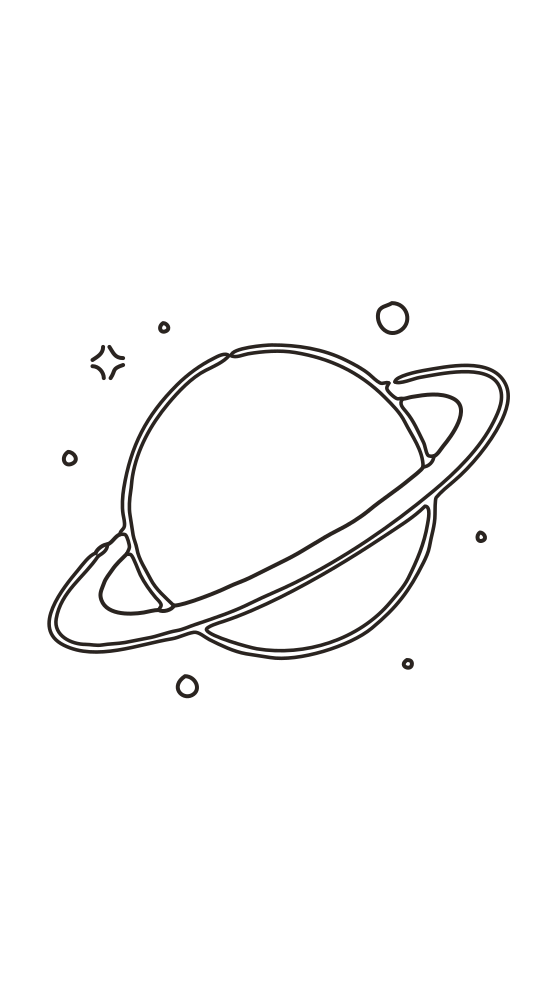
Trace this lesson on your own paper
What you’ll need
- HB pencil
- Eraser
- Drawing paper
- Colored pencils (optional)
Draw it step by step
Step 1 of 6
new lines in red
- done
- this step
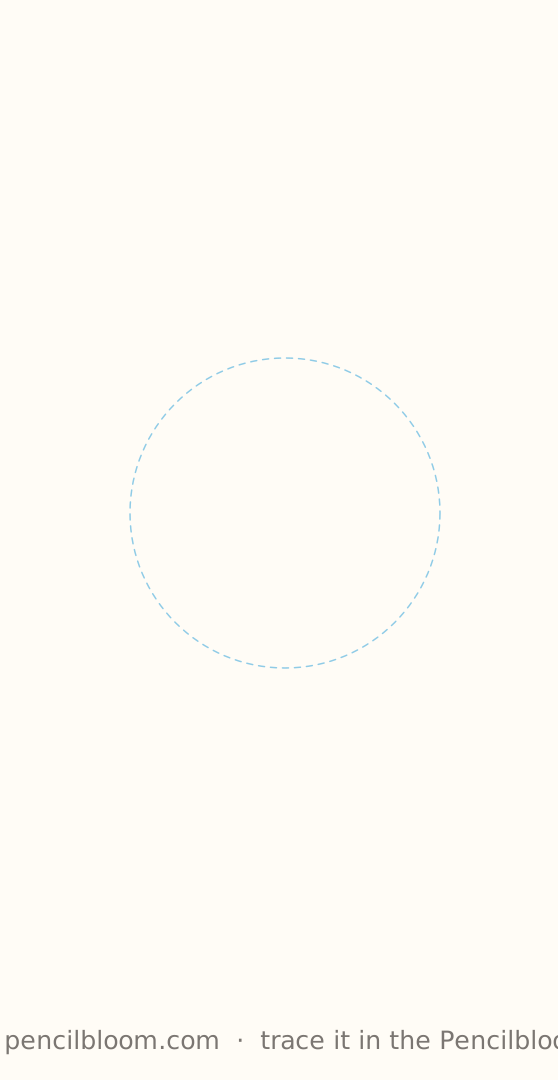
Step 1: Block in the planet circle
Lightly draw a large circle in the middle of the page for the planet body, slightly left of center.
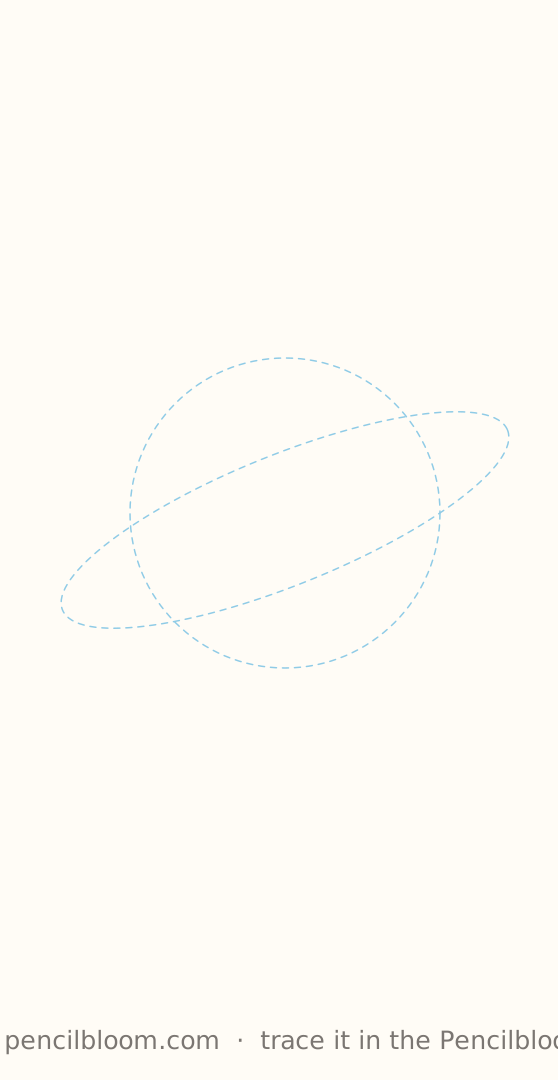
Step 2: Tilt the ring ellipse
Draw a long, narrow ellipse tilted upward to the right, crossing the circle's lower half and extending past both sides.
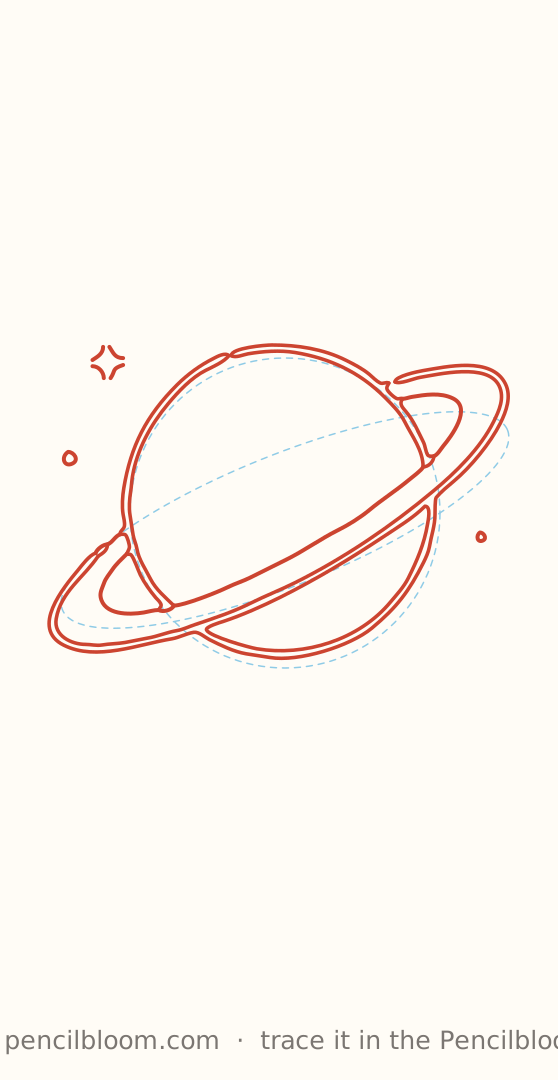
Step 3: Draw the planet and ring
Trace the planet's curve and the ring's double edges, letting the ring pass in front of the planet and break the lower bulge.
Tip: Keep lines smooth and let the ring overlap the planet.
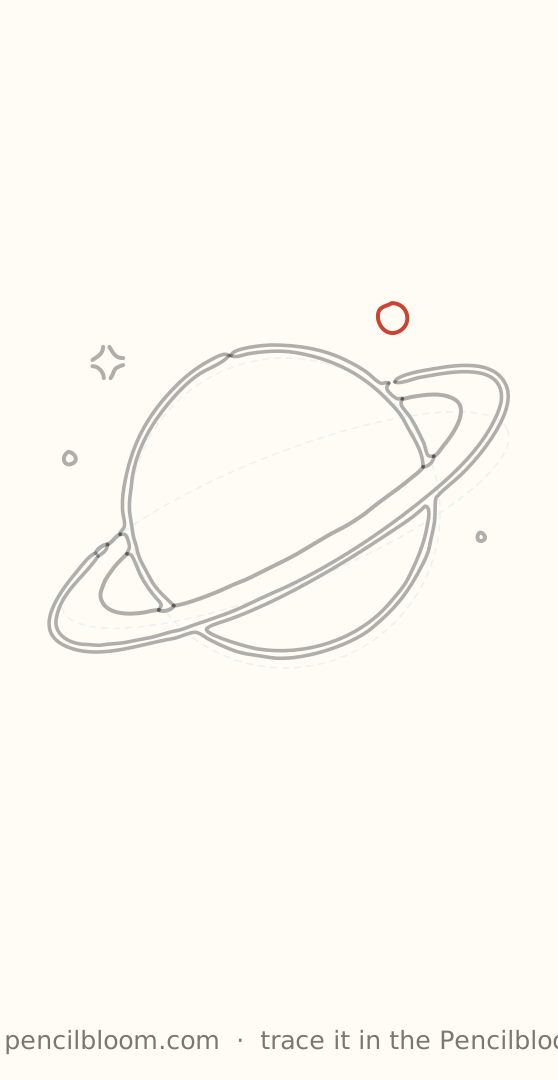
Step 4: Add the upper circle
Draw a small circle above the ring at upper right.
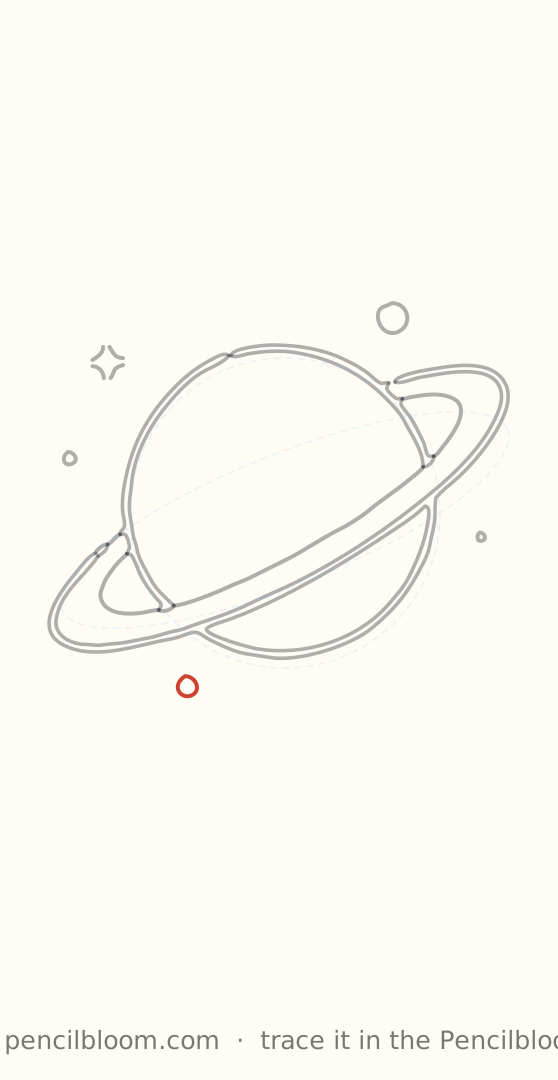
Step 5: Add the lower circle
Draw a small circle below the planet, left of center.
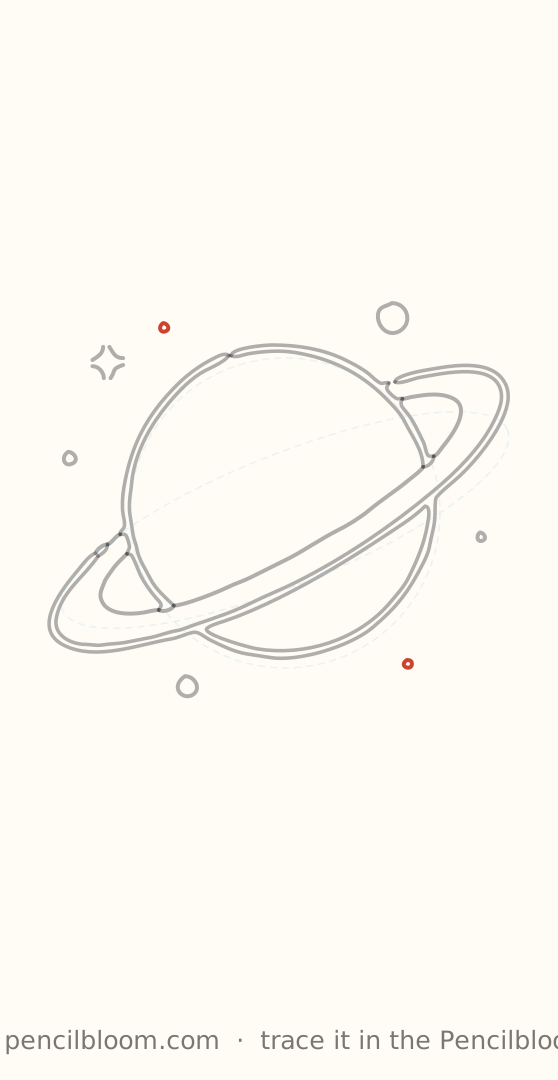
Step 6: Dot in the tiny stars
Add tiny dots: one at upper left near the planet and one at lower right.
swipe the drawing to change step
Done! Now on paper?
You’ve seen every step. Trace it on real paper with Pencilbloom; your phone shows each step right on the page.
Trace this lesson on your own paper
Pencilbloom shows each step through your camera, right on the page.
FAQ
What paper and pencil should I use for tracing?
With the camera, any plain paper works, from printer paper to a sketchbook. For Trace on screen, use thin paper so the picture shines through. An HB pencil is good for guide lines and a softer 2B for darker final lines. Tape the paper down so it doesn't move.
How do the step-by-step drawing lessons work?
Each lesson builds a drawing in small steps, big shapes first and details last, with a picture for every step. You can draw along on paper while looking at the steps, or trace each step in the app. Many lessons are free, and you'll find them all on our Learn page.